
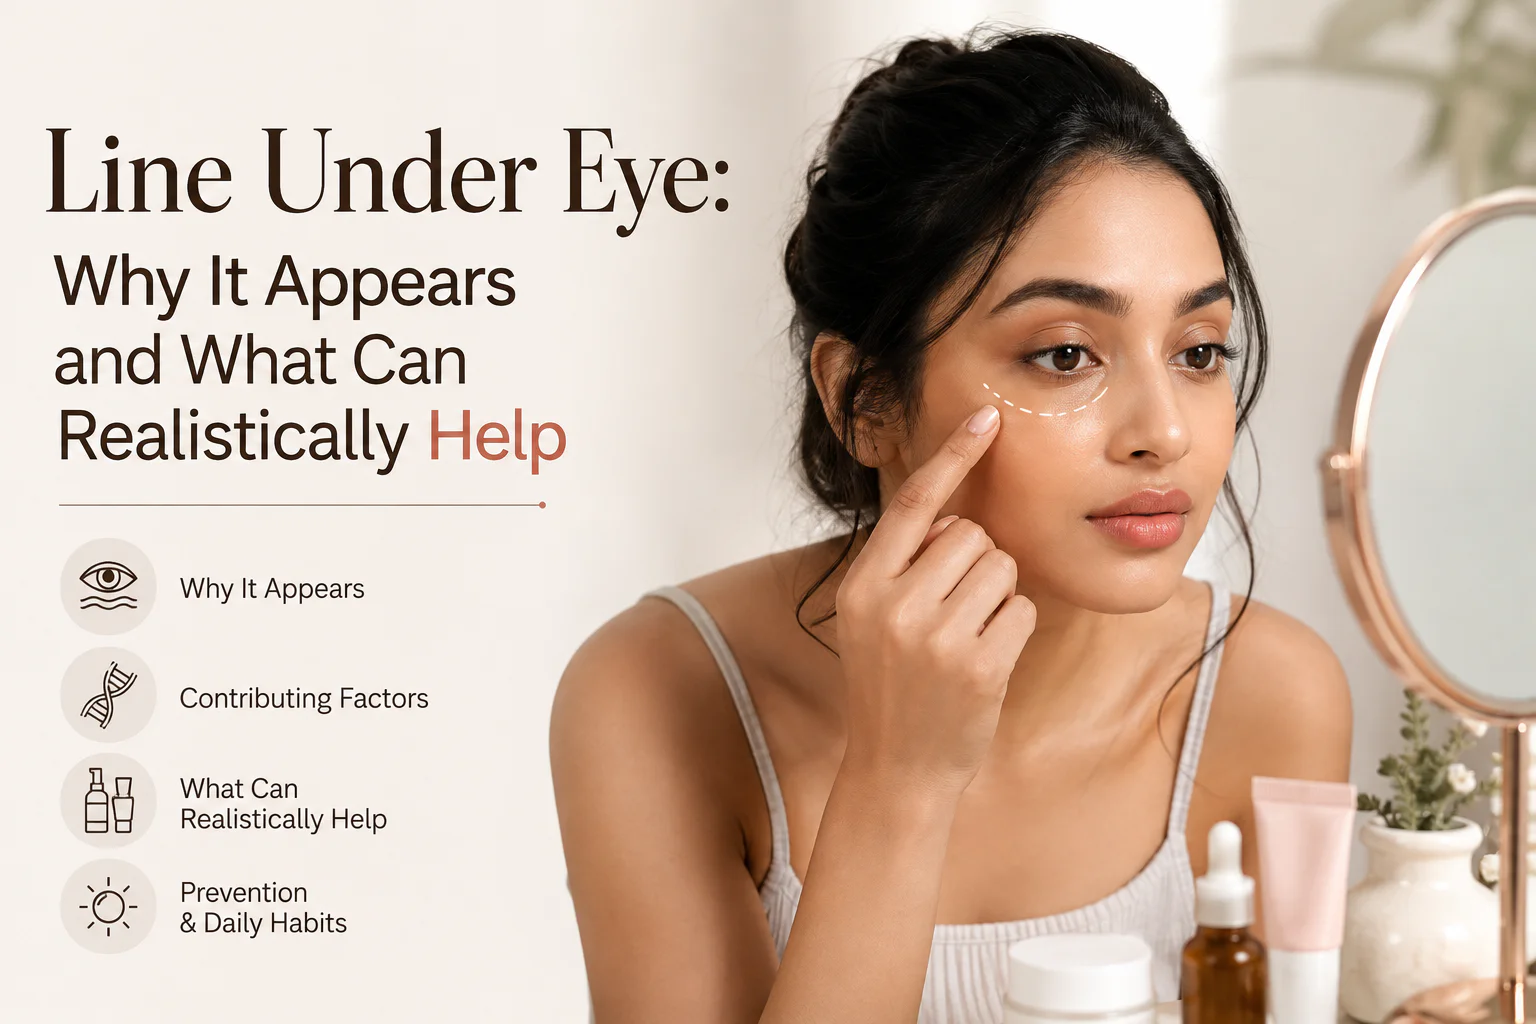
Category: Skin CareAuthor: Aiman Shahzadi A new line under eye can look dramatic in bright bathroom lighting, even when it is completely normal. The important question is not simply “How do I remove it?” but what type of line is it? A temporary dehydration crease behaves differently from a fine line caused by repeated facial movement, and both behave differently from a deeper fold created by facial anatomy or age-related volume change. For more on this, see our guide to what the evidence says about VITARAN under eyes. Quick answer: If the line becomes more noticeable when your skin is dry and softens after moisturising, dehydration is probably contributing. If it remains visible when your face is relaxed, it may be a more established fine line or structural crease. Skincare can soften many lines, but it cannot permanently erase every under-eye fold. Why Is There a Line Under My Eye? 1. Dehydration can make tiny lines look deeper The under-eye area has thin, delicate skin. When the outer layer is short on water, its surface looks less smooth and fine creases can become more visible. This is why a line can appear worse after cleansing, air travel, cold weather or a night in a dry heated room. Hydration is not the same as “filling” a wrinkle. Humectants such as glycerin and hyaluronic acid attract water into the outer skin, while moisturising lipids help reduce water loss. The effect can make a fine dehydration line look softer, but it is temporary and depends on continued barrier care. 2. Repeated expressions create dynamic lines Smiling and squinting fold the skin around the eyes thousands of times. At first, these lines may appear only during expression. With age, changes in collagen and elasticity can make some lines remain visible even when the face is relaxed. 3. Ageing changes skin thickness and facial support Periorbital ageing is not only a skin-surface issue. Changes in collagen, fat compartments, bone and soft tissue can alter the shape of the lower eyelid and tear trough. That can create a line or shadow that no moisturiser can fully correct. 4. Sun exposure contributes to photoageing UV exposure accelerates visible signs of skin ageing, including uneven pigmentation and fine lines. Consistent broad-spectrum sunscreen is therefore one of the most useful long-term habits if your goal is to prevent existing lines from becoming more noticeable. 5. Irritation and over-exfoliation can make texture look worse A strong acid routine can leave delicate skin dry, red or flaky. If you use exfoliating acids elsewhere on your face, keep them away from the immediate eye contour unless the product is specifically designed for that area. GlowCulture’s AHA vs BHA vs PHA guide explains how to use exfoliants more safely. How to Tell a Dehydration Line from a More Established Fine Line What you notice More consistent with dehydration More consistent with an established line Changes through the day Often looks worse after cleansing or in dry air Usually remains visible across conditions Response to moisturiser May soften noticeably May look smoother but rarely disappears Depth Usually very fine and superficial May look deeper or follow a repeated fold Expression Can appear without obvious movement Often becomes stronger when smiling or squinting This is only a practical self-check, not a diagnosis. If the change is sudden, one-sided, inflamed or associated with other eye symptoms, seek professional assessment. What Can Help a Line Under the Eye? Step 1: Repair hydration first Before reaching for strong anti-ageing ingredients, spend two to four weeks making the area consistently comfortable. Use a gentle cleanser, a simple moisturiser and sunscreen. If the line improves substantially, barrier dehydration was probably part of the problem. For a routine that fits your skin type, use GlowCulture’s complete skincare routine guide. Step 2: Add a suitable eye treatment Choose the ingredient based on the problem you actually see: Step 3: Introduce retinoid-type products slowly If you choose an eye product containing retinol or retinal, begin according to the manufacturer’s instructions rather than applying it every night immediately. Use a small amount and stop if you develop persistent burning, swelling or dermatitis. Retinoids are generally avoided during pregnancy unless a qualified clinician advises otherwise. Step 4: Protect the area every morning No anti-ageing routine is complete without sun protection. Sunglasses can also reduce squinting and provide physical coverage around the eye area. Can Under-Eye Brighteners Help Fine Lines? Sometimes. A product marketed as an under-eye brightener may contain hydration, peptides or a retinoid-type ingredient that also improves fine-line appearance. A caffeine-only product is more likely to target puffiness than a fixed crease. What About an Under-Eye Booster? The term under eye booster can refer to a concentrated topical serum or an injectable aesthetic treatment. If you are considering the injectable category, do not assume it is simply “stronger skincare.” It is a procedure with different benefits, risks and practitioner requirements. Read our guide to topical and injectable under-eye boosters. When Skincare Is Unlikely to Be Enough A deep tear-trough groove, pronounced skin laxity or major volume loss may not respond meaningfully to creams. Dermatology literature on periorbital hyperpigmentation also shows that structural causes often need different approaches from pigment-based dark circles. A dermatologist, oculoplastic specialist or appropriately qualified aesthetic clinician can help identify which structure is creating the line or shadow. Do not rush into filler or injections because of a social-media before-and-after. Procedures around the eye can have significant complications. The NHS recommends choosing a properly trained practitioner and understanding the risks before any cosmetic procedure. Frequently Asked Questions Why did a line under my eye suddenly appear? Dryness, irritation, poor sleep, puffiness or lighting can make an existing fine crease suddenly look more obvious. A genuinely new, one-sided or symptomatic change should be assessed by a healthcare professional. Can moisturiser remove under-eye lines? Moisturiser can make dehydration lines look much softer by improving surface hydration. It cannot permanently remove a deeper structural crease. Is retinol safe under the eyes? Retinol is used in many products formulated specifically for the eye area, but the skin there is easily
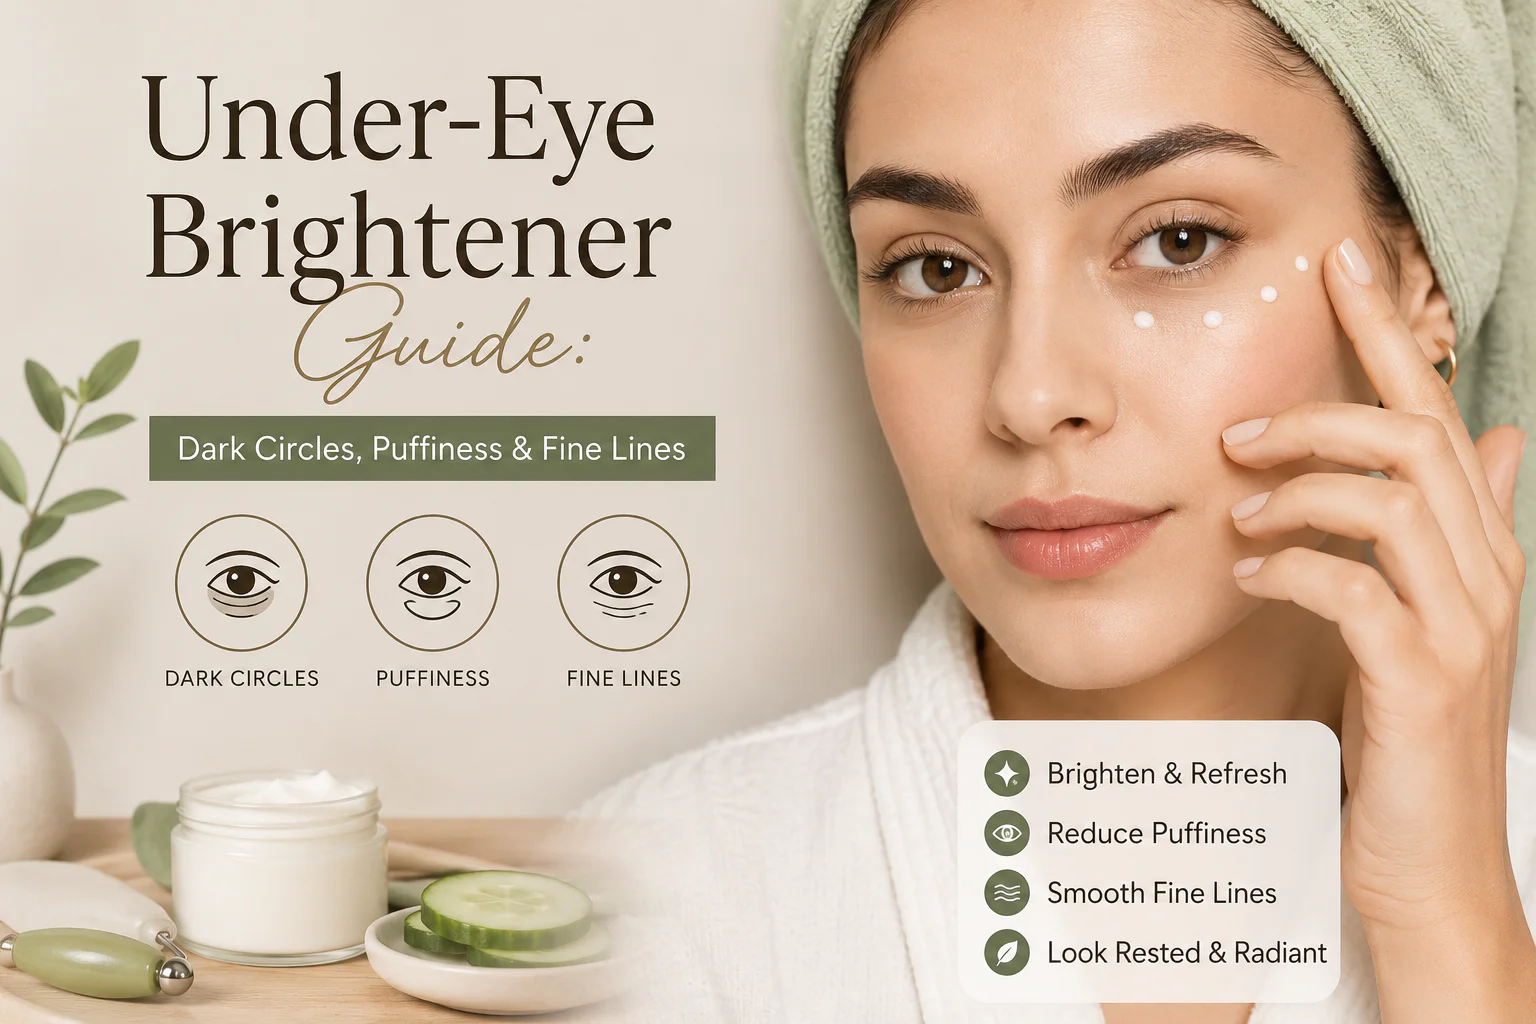
Under-Eye Brightener Guide: How to Improve Dark Circles, Puffiness & Fine Lines
Category: Skin CareAuthor: Aiman Shahzadi You can sleep eight hours and still wake up looking tired. That is because a dark or shadowed under-eye area is not caused by one thing. Pigment, thin skin, visible blood vessels, allergies, puffiness, genetics, age-related hollowing and fine lines can all change how light falls around the eyes. An under eye brightener may improve the appearance of some of these concerns, but the right choice depends on what is actually creating the darkness. This guide explains the main causes, the ingredients worth looking for, how topical brighteners differ from an injectable under eye booster, and when home skincare is unlikely to be enough. The goal is not to promise a “cure” for dark circles. It is to help you choose a realistic, evidence-informed under eye brightener approach. Quick answer: For puffiness, caffeine and cooling formulas may offer a temporary visible improvement. For dry fine lines, humectants and barrier-supporting ingredients can make the area look smoother. For pigment-related darkness, sunscreen plus brightening ingredients may help gradually. Hollowing and structural shadowing often respond less to creams and should be assessed by a qualified professional. Why Do Under-Eye Dark Circles and Lines Form? Dermatology reviews describe periorbital dark circles as a multifactorial concern. In other words, two people can have similar-looking dark circles for completely different reasons. That is why copying someone else’s eye cream routine often disappoints. Thin skin and visible blood vessels The skin around the eyes is delicate. When the skin is naturally thin, underlying vessels can contribute blue, purple or reddish tones. This is also why “brightening” does not always mean removing pigment. Sometimes the colour you see is vascular rather than melanin-based. Genetics and pigmentation Some people naturally have more pigment around the eyes. Repeated rubbing, eczema, allergic irritation and inflammation may also leave the area looking darker. If pigment is the dominant cause, a gentle brightening routine and consistent sun protection can be more relevant than a de-puffing cream. Ageing, collagen loss and a visible line under the eye With time, changes in collagen, skin thickness and facial volume can make a line under eye or tear-trough shadow more noticeable. A moisturising eye product can soften dehydration lines, while retinoid-type ingredients can improve the appearance of fine lines over time. They cannot, however, replace lost volume or permanently erase a structural crease. If your main concern is a single crease or fine line rather than dark circles, read our dedicated guide to what causes a line under the eye and what can realistically improve it. Sleep, allergies, dehydration and daily habits Poor sleep can make the eye area look more tired, and allergies may contribute to puffiness, rubbing and discolouration. Dehydrated skin can also make fine lines look sharper because the surface is less plump. Screen use itself is not a proven direct cause of permanent dark circles, but long sessions can contribute to eye strain or rubbing in some people. For practical sleep support, see GlowCulture’s evidence-based guide to improving sleep quality. How to Reduce Dark Circles and Under-Eye Lines Naturally 1. Start with sleep and hydration, but keep expectations realistic If tiredness is exaggerating your under-eye appearance, improving your sleep routine may make you look more rested. Hydration can also help dry skin look temporarily smoother. Neither will change genetically determined pigmentation or a deep tear trough. 2. Try a cool compress for temporary puffiness A cool compress can temporarily reduce the look of morning puffiness. Keep the temperature comfortable, never place ice directly on delicate skin, and do not press hard around the eye. 3. Be gentle with massage and gua sha Light massage can feel relaxing and may temporarily move superficial fluid, but aggressive rubbing can irritate the area and may worsen pigment in people prone to post-inflammatory darkening. Use slip from a moisturiser or serum and avoid dragging the skin. 4. Use daily sun protection UV and visible-light exposure can worsen many forms of facial pigmentation. Choose a broad-spectrum sunscreen you tolerate and apply it carefully around the orbital bone without getting product into the eyes. The American Academy of Dermatology recommends sunscreen as an important part of managing dark spots and uneven pigmentation. If you are building a full routine, our 2026 skincare routine guide explains where serums, moisturisers and sunscreen fit. What to Look for in an Under-Eye Brightener Ingredient Best suited to What it may do Watch-outs Caffeine Morning puffiness, tired-looking eyes May temporarily improve puffiness and the appearance of some vascular dark circles Results vary; it will not correct structural hollowing Vitamin C Dullness, uneven-looking tone Antioxidant support and gradual brightening Some formulas sting sensitive eye areas Niacinamide Uneven tone, barrier support Supports the skin barrier and can help improve the look of discoloration over time Use a gentle formula around the eyes Peptides Fine lines, general age support Can support a smoother, firmer-looking appearance depending on the formula Product-specific evidence varies Retinol / retinal Fine lines and texture Can improve the appearance of fine lines with consistent use Introduce slowly; avoid during pregnancy unless your clinician advises otherwise Hyaluronic acid / glycerin / ceramides Dryness and dehydration lines Hydrate and support a smoother surface Do not expect them to remove pigment or volume loss For more on vitamin C, see GlowCulture’s guide to the benefits of vitamin C serum. Best Under-Eye Brighteners and Boosters to Consider in 2026 Prices below are approximate UK prices checked in August 2026 and can change. GlowCulture is not claiming that any one product is best for every skin type. This roundup is not sponsored. 1. The Ordinary Caffeine Solution 5% + EGCG Approx. price: £8.40 for 30 ml.Best for: budget-friendly morning de-puffing and tired-looking eyes.Why it stands out: a lightweight caffeine-based serum designed specifically for puffiness and dark-circle appearance. View the official product page. 2. The INKEY List Caffeine Eye Cream Approx. price: £10 for 15 ml.Best for: users who prefer a cream texture rather than a watery serum.Why it stands out: caffeine-focused eye care at an accessible price. View the official product page. 3. Beauty of Joseon Revive Eye Serum: Ginseng + Retinal Approx.
Skincare Treatment: What Your Skin Actually Needs
By Aiman Shahzadi — Founder & Senior Lifestyle Writer at GlowCulture Category: Skin Care | Read Time: 11 min | Updated: August 2026 Quick answer: Your skin doesn’t need more products — it needs the right product matched to your actual concern, not your skin type alone. Acne, hyperpigmentation, aging, and sensitivity each require different active ingredients, and using the wrong one can make the underlying problem worse instead of better. For more on this, see our guides to how to build the perfect skincare routine for your skin type, the correct order for your skincare routine and skincare tips that actually make a difference. That single idea is the difference between a routine that visibly changes your skin and one that just sits on your bathroom shelf. Skin type (oily, dry, combination) tells you what texture of product to use. Skin concern tells you what active ingredient actually addresses the problem you’re trying to fix. Most people only think about the first one and wonder why their skin isn’t improving. This guide breaks skincare down by concern, not by skin type, so you can identify exactly what your skin is asking for. Skin Type vs. Skin Concern: Why This Distinction Matters These two things sit on top of each other, and confusing them is where most routines go wrong. You can have oily skin with zero acne. You can have dry skin with active breakouts. A dermatologist-style approach treats the concern first with targeted actives, then chooses the texture and formulation of those actives based on skin type. This approach makes skincare treatment more precise because the active ingredient is selected for the problem rather than simply for the label on the skin type. Someone with oily, acne-prone skin and someone with dry, acne-prone skin might both use salicylic acid — just in a gel base for one and a cream base for the other. What Does Acne-Prone Skin Actually Need? Among common skin concerns, acne is one of the most responsive to a focused ingredient strategy. Quick answer: Acne responds best to ingredients that unclog pores and calm inflammation — primarily salicylic acid, benzoyl peroxide, and retinoids, used consistently over 8-12 weeks. Retinoids are considered one of the most effective options for acne because they work on multiple fronts at once — increasing cell turnover so pores don’t clog as easily, and reducing inflammation. Salicylic acid dissolves into the oil sitting inside pores, physically clearing out the debris causing blackheads and breakouts. Benzoyl peroxide targets acne-causing bacteria directly. What acne-prone skin doesn’t need: heavy, occlusive creams; alcohol-based astringent toners that strip the skin and trigger rebound oil production; or a five-step routine layering multiple actives at once, which usually causes more irritation than clearing. A realistic starting point for skincare treatment: one targeted treatment (salicylic acid or a low-strength retinoid), a lightweight non-comedogenic moisturizer, and daily sunscreen. This keeps the routine simple while addressing one of the most common skin concerns. What Does Skin With Dark Spots or Hyperpigmentation Actually Need? Quick answer: Hyperpigmentation needs ingredients that either slow melanin production or speed up cell turnover — vitamin C, niacinamide, azelaic acid, or a retinoid — plus consistent, non-negotiable sunscreen, since sun exposure is what keeps dark spots visible and can worsen them. This is the skin concern where people most often waste money on skincare treatment, because visible improvement is genuinely slow — often 8 to 16 weeks of consistent use before a real difference shows. Vitamin C works as an antioxidant that also interferes with melanin production. Niacinamide interrupts the transfer of pigment to skin cells. Azelaic acid is a strong, often underrated option, particularly for pigmentation left behind by acne, and tends to be gentler than some alternatives for deeper skin tones. One detail people miss constantly: treating hyperpigmentation without daily SPF is close to pointless. UV exposure is one of the biggest drivers of melanocyte activity — the very process causing the dark spot in the first place. No serum outworks unprotected sun exposure. Important distinction: not all dark patches are the same. Post-acne marks respond well to the ingredients above. Melasma, which often looks like larger, symmetrical patches, is hormonally influenced and frequently needs a dermatologist’s input, since some over-the-counter approaches can make it worse. What Does Aging or Fine-Line-Prone Skin Actually Need? Skincare Treatment Quick answer: Retinoids remain the most consistently evidence-backed ingredient for fine lines and skin aging, paired with daily SPF as genuine prevention, since UV exposure is responsible for the large majority of visible facial aging. Skincare Treatment retinoids work by speeding up cell turnover and stimulating collagen production, which is why they show up as the common recommendation across acne, pigmentation, and aging — they’re addressing overlapping mechanisms. Peptides and antioxidants (vitamin C, vitamin E) offer supportive benefits but generally work more slowly and modestly than retinoids on their own. What aging skin doesn’t need: an expensive “anti-aging” product that skips SPF, since sunscreen alone prevents more visible aging than almost any active ingredient can reverse. A note on timing: starting a low-strength retinoid in your mid-to-late 20s as prevention is different from starting one in your 40s to address existing fine lines — both are valid, but expectations and concentration should differ. If you’re new to retinoids, patience with the initial adjustment period (dryness, mild peeling for the first few weeks) matters more than the exact product you choose. What Does Redness, Sensitive, or Reactive Skin Actually Need? Quick answer: Sensitive or reactive skin needs barrier repair first — ceramides, canella Asiatic, and fragrance-free formulas — before any active ingredient is introduced, since a compromised barrier is often what’s causing the reactivity in the first place. This is the concern most people get backwards. Reactive skin often gets treated with more products aimed at whatever visible symptom shows up (redness, texture, dullness), when the real fix is stripping the routine back to basics and letting the skin barrier recover. Ceramides restore the lipids that make up
Aloe Vera for Acne-Prone Skin: Does It Really Help?
By Aiman Shahzadi — Founder & Senior Lifestyle Writer at GlowCulture Category: Skin Care | Read Time: 9 min | Updated: August 2026 Aloe vera has one of the oldest reputations in skincare — people have been using it on irritated skin for thousands of years, long before “skinimalism” or “clean beauty” were terms anyone used. So when acne-prone skin needs calming down, aloe is often the first thing recommended, usually by someone well-meaning who swears it fixed their skin overnight. For more on this, see our guides to acne and acne scarring treatment by scar type, what your skin actually needs from treatment and how to build the perfect skincare routine for your skin type. But does it actually treat acne, or does it just make irritated skin feel better while the acne itself carries on unaffected? The honest answer sits somewhere in between, and it matters which side of that line you’re on before you build a routine around it. What Aloe Vera Actually Contains The gel inside an aloe leaf isn’t just soothing goo — it contains a mix of compounds that explain why it behaves the way it does on skin: None of these make aloe a medicated acne treatment. What they do explain is why it’s genuinely useful as a supportive, calming ingredient — which is a different job than clearing active breakouts. What Aloe Vera Can Realistically Do for Acne-Prone Skin Calm visible redness and irritation. This is aloe’s strongest, best-supported use. Acne-prone skin is often inflamed skin, and aloe’s anti-inflammatory compounds can genuinely reduce the look of redness around active breakouts. Support the skin barrier during treatment. Many effective acne treatments — benzoyl peroxide, retinoids, salicylic acid — are drying by design. Layering a light aloe gel underneath or after these treatments can offset some of that dryness and peeling, making a prescribed routine more tolerable to stick with. Provide light, non-greasy hydration. Oily or acne-prone skin still needs moisture. Skipping it altogether often makes oiliness worse. Aloe’s watery gel texture makes it a comfortable, non-clogging option for people who find creams too heavy. Offer very mild antibacterial support. Some lab research has looked at aloe’s activity against acne-related bacteria, and the results are promising in a petri dish. That’s meaningfully different from proving it clears breakouts on real skin in a real routine, which is a distinction worth sitting with. What Aloe Vera Cannot Realistically Do This is the part most articles skip, and it’s the honest answer to the question in the headline. It’s not a primary acne treatment. Current dermatology treatment guidelines for acne center on ingredients with strong clinical backing — benzoyl peroxide, topical retinoids, salicylic acid, and in more severe cases, prescription options. Aloe vera doesn’t appear as a first-line recommendation in these guidelines. That doesn’t make it useless; it makes it a supporting player, not the main treatment. It won’t unclog pores the way a BHA does. Aloe’s exfoliating effect is very mild compared to an actual salicylic acid product. If your main issue is clogged pores and blackheads, aloe alone isn’t going to solve that. Results are inconsistent and often overstated. You’ll find dramatic before-and-afters online claiming aloe alone cleared someone’s skin. In most of those cases, aloe was one part of a broader routine that also included proper cleansing, targeted actives, and sun protection — but it gets all the credit because it’s the “natural” ingredient in the story. Raw plant aloe carries real risk. Applying gel straight from a plant leaf sounds appealing and “pure,” but raw aloe latex (the yellow substance just under the skin of the leaf) can irritate skin and, in some people, trigger allergic contact dermatitis. A well-formulated, purified skincare product is more predictable and safer than freehanding it from a windowsill plant. How to Actually Use Aloe Vera If You Have Acne-Prone Skin Use it as a layer, not a solution. Think of aloe as something you add to a routine that already includes an actual acne-targeting ingredient (salicylic acid, benzoyl peroxide, or a retinoid), not something that replaces one. Apply it after actives to buffer irritation. If a retinol or exfoliating acid leaves your skin feeling tight or reactive, a thin layer of aloe gel afterward can help calm that response. Check the ingredient list before buying. “Aloe vera gel” on a shelf can mean very different things — some products are mostly aloe with minimal additives, while others are mostly water, alcohol, fragrance, and dye with a small percentage of aloe extract. For acne-prone or reactive skin, choose a fragrance-free formula without added alcohol or unnecessary dyes. Patch test first. Apply a small amount to your inner forearm and wait 24 hours before using it on your face, especially if you’re using a raw or minimally processed product. Give it a few days, not a miracle timeline. If you see no calming effect within about a week of consistent use, it’s likely not doing much for your specific skin, and that’s a reasonable point to stop relying on it and speak with a dermatologist instead. Who Should Be Cautious Frequently Asked Questions Can I use pure aloe vera gel every day? Yes, for most people a purified, fragrance-free aloe gel is gentle enough for daily use, particularly as a calming layer after other treatments. Is aloe vera good for acne scars? There’s some evidence aloe may support wound healing and collagen activity, which is relevant to scar recovery, but it works slowly and modestly — it isn’t a substitute for proven scar treatments like retinoids, vitamin C, or in-office procedures for more visible scarring. Can I put aloe straight from the plant on my face? It’s not recommended without care. The gel from a fresh leaf can still contain latex residue, which is more likely to irritate skin than a purified, shelf-stable product formulated for the face. Does aloe vera help with oily skin specifically? Its light, water-based texture makes it a comfortable option for oily
AHA vs BHA vs PHA Explained: Which Exfoliant Is Right for Your Skin?
By Aiman Shahzadi — Founder & Senior Lifestyle Writer at GlowCulture Category: Skin Care | Read Time: 10 min | Updated: August 2026 AHA vs BHA vs PHA is one of the most searched skincare topics because each exfoliating acid works differently. Understanding AHA vs BHA vs PHA will help you choose the right exfoliant for your skin type and avoid irritation. For more on this, see our guides to what vitamin C serum actually does for your skin and acne and acne scarring treatment by scar type. That guessing game is exactly how people end up with a red, stinging face after using a glycolic acid toner meant for dry skin on their already-oily, breakout-prone T-zone — or why someone with genuinely sensitive skin keeps “trying to fix” their redness with a strong salicylic acid serum that was never built for them in the first place. These three acids are not interchangeable. Each one behaves differently once it touches your skin, and picking the wrong one doesn’t just fail to help — it can actively make your specific concern worse. Here’s what’s actually going on beneath the marketing. What “Exfoliation” Actually Means Here Before comparing the three, it helps to understand what they’re all doing at a basic level. Your skin naturally sheds dead cells from its outer layer on its own. As we age, or when skin is oily and prone to congestion, this shedding process slows down or gets blocked, leaving dullness, rough texture, or clogged pores behind. Chemical exfoliants — which is what AHA, BHA, and PHA all are — work by dissolving the “glue” that holds dead skin cells together, rather than physically scrubbing them off like a face scrub does. That’s an important distinction: physical scrubs create friction and micro-tears, while chemical exfoliants dissolve bonds without abrasion, which is generally gentler on the skin barrier when used correctly. AHA (Alpha Hydroxy Acid) Best for: Dry, dull, sun-damaged, or unevenly toned skin AHAs are water-soluble, which means they can’t travel past the skin’s surface — they work on the outermost layer only. Common AHAs you’ll see on ingredient labels include glycolic acid (the smallest molecule, so the most potent and fast-acting), lactic acid (gentler, and also hydrating), and mandelic acid (the largest molecule, making it the slowest and mildest of the group). What it actually does: The biggest difference between AHA vs BHA vs PHA is how each acid works on the skin. Who should avoid it: People with active inflammatory acne or very reactive, sensitive skin often find AHAs too stimulating, especially glycolic acid, which is the strongest of the group. BHA (Beta Hydroxy Acid) Best for: Oily, congested, or acne-prone skin The defining feature of BHA — almost always salicylic acid in skincare — is that it’s oil-soluble, not water-soluble. That single property changes everything about how it behaves: because it can dissolve into the oil inside your pores, it travels deeper than an AHA ever could, reaching the actual buildup of sebum and debris that causes blackheads and breakouts in the first place. What it actually does: When comparing AHA vs BHA vs PHA, your skin type should always come first. Who should avoid it: Very dry or barrier-compromised skin can find BHA drying if used too frequently, since its job is specifically to cut through oil. PHA (Polyhydroxy Acid) Best for: Sensitive, reactive skin, or as an entry point for anyone new to chemical exfoliation PHAs are the newest of the three to become mainstream, and they work on a similar principle to AHAs — dissolving surface-level bonds between dead cells — but with one key structural difference: their molecules are physically larger. That larger size means they can’t penetrate as quickly or as deeply into the skin, which is precisely why they’re so much gentler. Common PHAs include gluconolactone and lactobionic acid. What it actually does: This AHA vs BHA vs PHA guide explains the benefits of every exfoliant. Who should avoid it: Honestly, almost no one — this is the safest starting point of the three, though it also delivers the mildest results, so someone targeting stubborn texture or deep congestion may eventually need to move up to an AHA or BHA. What Is AHA vs BHA vs PHA? AHA BHA PHA Solubility Water-soluble Oil-soluble Water-soluble Where it works Skin surface Inside the pore Skin surface (slower penetration) Best for Dry, dull, sun-damaged skin Oily, acne-prone skin Sensitive, reactive, or beginner skin Common ingredients Glycolic acid, lactic acid, mandelic acid Salicylic acid Gluconolactone, lactobionic acid Potency Moderate to strong Strong (targeted) Mild Added benefit Brightening, evens tone Oil control, unclogs pores Hydration while exfoliating Have combination skin? You don’t have to pick just one — many people use a BHA on the oilier T-zone and an AHA or PHA on the drier cheek areas, either through separate targeted products or a formula that combines both at lower concentrations. How to Actually Use These Safely Beginners often search for AHA vs BHA vs PHA before buying an exfoliating product. Start slow. Whichever acid you choose, begin with 1–2 times a week, not daily. Your skin needs time to build tolerance. Never stack multiple acids in one routine unless the product is specifically formulated to combine them. Layering a separate AHA product with a separate BHA product on the same night is one of the fastest ways to compromise your skin barrier. Don’t mix acids with retinoids on the same night. Both retinoids and exfoliating acids increase cell turnover and sensitivity. Using them together — rather than alternating nights — significantly raises the risk of irritation, redness, and peeling. Sunscreen is not optional the next morning. All three acids increase how sensitive your skin is to UV exposure, since they’re actively removing the outer layer that normally offers some protection. Skipping SPF after exfoliating is one of the most common ways people end up with new pigmentation instead of the even skin tone they were trying to achieve. Watch for

How to Build the Perfect Skincare Routine for Your Skin Type (2026 Complete Guide)
By Aiman Shahzadi — Founder & Senior Lifestyle Writer at Glow Culture Category: Skin Care | Read Time: 14 min | Updated: August 2026 Building the perfect skincare routine for your skin type starts with understanding what your skin actually needs. Most people do not struggle with skincare because they buy the wrong products. They struggle because they begin using trending ingredients without first identifying whether their skin is oily, dry, combination, sensitive, normal, or acne-prone. For more on this, see our guides to the correct order for your skincare routine, what vitamin C serum actually does for your skin and AHA vs BHA vs PHA exfoliants explained. Walk into any skincare conversation online and you will hear the same products recommended to almost everyone: vitamin C serum, hyaluronic acid, retinol, moisturizer, and sunscreen. However, the best skincare routine for oily skin can be completely different from the right routine for dry or sensitive skin. A product that controls oil and breakouts for one person may damage the skin barrier of another. That is why creating a personalized skincare routine for your skin type matters more than copying an influencer’s routine or buying every trending product. This guide will help you identify your skin type, choose the right products, understand the correct application order, and build an effective morning and evening skincare routine. By the end, you will know exactly how to build the perfect skincare routine for your skin type without overcomplicating your routine or damaging your skin barrier. What a Skincare Routine Actually Is A skincare routine isn’t a checklist of steps you copy from an influencer. At its core, it’s just two things working together: Almost every skincare mistake comes from chasing #2 while ignoring #1. Someone with visible texture starts using three exfoliating acids a week, strips their barrier, and ends up with skin that’s more reactive and worse-looking than before they started. A good routine treats the barrier as the foundation everything else sits on, not an afterthought. Step 1: Actually Identify Your Skin Type Most people guess their skin type based on how it feels in the moment, which is unreliable because weather, stress, and even the last product you used can change how your skin feels for a day. Instead, use this simple test: The Bare-Face Test: Wash your face with a gentle cleanser, apply nothing else, and wait 30–60 minutes. Then check: Skin Type What You’ll Notice Oily Shine across the entire face, especially forehead, nose, and chin (the T-zone), by the 30-minute mark Dry Tightness, flaking, or a “stretched” feeling, with no shine anywhere Combination Shine in the T-zone only, while cheeks stay normal or feel slightly dry Normal Balanced — no shine, no tightness, comfortable Sensitive Redness, stinging, or reactivity to products regardless of oil or dryness levels (this can overlap with any of the above types) Sensitivity isn’t really a separate skin type — it’s a trait that can show up alongside any of the other four. Someone can be oily and sensitive, or dry and sensitive. If your skin reacts easily to new products, treat every step in this guide as something to introduce slowly, one product at a time, rather than all at once. Step 2: The Non-Negotiable Structure Every Routine Shares Regardless of skin type, every effective routine follows the same underlying order, because this is about how ingredients physically absorb into skin — not personal preference. The rule dermatologists consistently point to is thinnest to thickest, water-based before oil-based. Applying a heavy cream before a lightweight serum blocks that serum from reaching the skin at all. Morning (protection-focused): Evening (repair-focused): Sunscreen in the morning and a treatment step at night are the two slots people skip most often, and they’re also the two steps that make the biggest visible difference over months. Step 3: Build the Routine for Your Specific Skin Type This is where most generic guides stop being useful. Here’s what actually changes by skin type. Oily & Acne-Prone Skin The instinct is to strip oil away aggressively. This backfires — over-cleansing signals the skin to produce even more oil to compensate, and harsh treatments damage the barrier, which then shows up as more breakouts. Avoid: Heavy occlusive oils, thick balms, and daily strong exfoliation — all of these can worsen congestion. Dry Skin Dry skin needs ingredients that both attract water and lock it in, applied to slightly damp skin for better absorption. Avoid: Alcohol-based toners, high-percentage acids, and any cleanser that leaves skin feeling tight afterward. Combination Skin The temptation is to treat the whole face the same way, but combination skin genuinely benefits from applying different products to different zones. Sensitive Skin The priority here isn’t which actives to add — it’s rebuilding tolerance without triggering reactions. Normal Skin Normal skin has the most flexibility, but “normal” doesn’t mean skincare doesn’t matter — it means the focus shifts from correcting problems to prevention and maintenance, particularly consistent SPF use and, from the mid-20s onward, gradually introducing retinoids to support long-term skin health. Common Mistakes That Undo a Good Routine Mixing the wrong actives on the same night. Retinol and exfoliating acids (like AHAs/BHAs) both increase sensitivity and can cause irritation when layered together. Use them on alternating nights, not the same one. Expecting results in days. Skin cell turnover takes roughly 4–6 weeks. Most active ingredients need at least one full cycle before you can judge whether they’re working. Under-applying sunscreen. Most people apply only a fraction of the amount needed to get the SPF number on the bottle. The standard guidance is roughly a nickel-sized amount for the face and neck alone. Changing too many products at once. If a reaction happens, you won’t know which product caused it. Introduce one new step at a time. Skipping moisturizer because skin is oily. This is one of the most common reasons oily skin stays oily — the skin overproduces sebum to compensate for the moisture it isn’t getting from
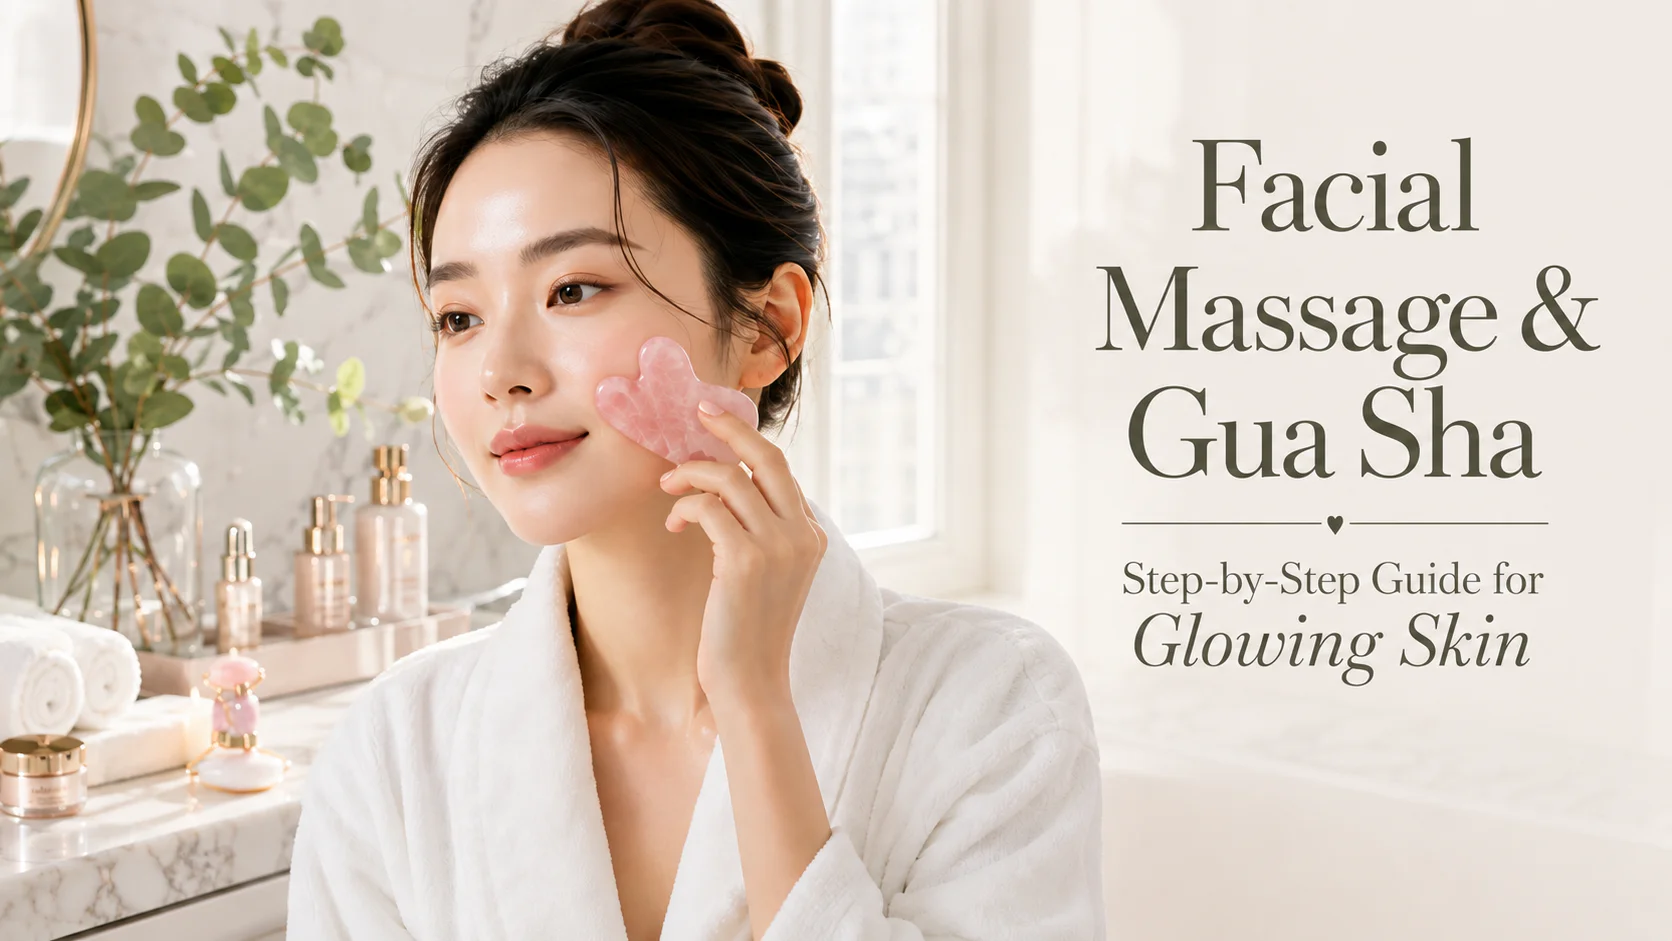
How to Do Facial Massage & Gua Sha at Home
By Aiman ShahzadiFounder & Senior Lifestyle WriterCategory: BeautyRead Time: 11 min read Have you ever wondered why so many skincare enthusiasts swear by facial massage and Gua Sha? The answer is simple: when done correctly, these techniques can help reduce facial puffiness, improve circulation, relax tense facial muscles, and leave your skin looking healthier and more radiant. For more on this, see our guides to how to build the perfect skincare routine for your skin type, how to improve dark circles, puffiness and fine lines and beauty tips that make your routine easier. The best part? You don’t need an expensive spa appointment. Learning how to do facial massage & Gua Sha at home is surprisingly easy, and with just a few minutes a day, you can turn your skincare routine into a relaxing self-care ritual. In this guide, you’ll learn exactly what facial massage and Gua Sha are, how to use them safely, the correct order, common mistakes to avoid, and how to build a simple routine that works for your skin. What Is Facial Massage & Guan Sha? Gua Sha helps reduce puffiness. This facial massage tool may also improve circulation. The technique should always be used on damp skin. Gua Sha is a smooth stone tool, traditionally made from jade or rose quartz, that glides across the skin with light pressure. While Gua Sha has roots in Traditional Chinese Medicine, modern skincare routines often use it as a gentle facial massage tool for relaxation and temporary reduction of puffiness. Many people enjoy these techniques because they can: Benefits of Facial Massage & Gua Sha Using facial massage and Gua Sha consistently may offer several cosmetic benefits. Improve Blood Circulation Gua Sha gentle massage encourages blood flow to the skin, helping your complexion appear brighter and healthier. Reduce Puffiness Many people notice less puffiness around the cheeks and under-eye area after a morning Gua Sha session. Relax Facial Tension Stress often causes tightness around the jaw, temples, and forehead. Facial massage helps those muscles feel more relaxed. Better Product Absorption Massaging facial oil or serum across the skin helps create an even application while reducing unnecessary tugging. A Moment of Self-Care Perhaps the biggest benefit is slowing down. Spending five to ten minutes caring for your skin can become a relaxing part of your daily routine. What You’ll Need Before You Start Gua Sha you don’t need many products. Prepare: Never use Gua Sha on dry skin because friction may cause irritation. How to Do Facial Massage & Gua Sha at Home: Step-by-Step Step 1: Cleanse Your Face Start with freshly washed skin. Removing sunscreen, makeup, and dirt helps the tool glide smoothly and keeps your routine hygienic. Step 2: Apply Facial Oil Apply a few drops of facial oil or a hydrating serum. The skin should feel slippery—not greasy. This prevents unnecessary pulling. Step 3: Start at the Neck Hold your Gua Sha tool almost flat against your skin. Use gentle upward strokes from your collarbone toward your jawline. Repeat each stroke 5–10 times. Step 4: Massage the Jawline Glide the curved edge from the chin toward your ear. Use slow movements rather than pressing hard. Step 5: Lift the Cheeks Place the tool near your nose. Move outward toward the ears. Repeat several times on each side. This is one of the most relaxing parts of the routine. Step 6: Smooth the Under-Eye Area Use extremely light pressure. Move from the inner corner toward the temple. The skin here is delicate, so avoid dragging. Step 7: Massage the Forehead Start between your eyebrows. Glide upward toward your hairline. Then work from the center of the forehead outward. Step 8: Finish Around the Temples Make slow sweeping strokes toward the temples. Many people find this helps release facial tension after a long day. Step 9: Moisturize Finish your routine with a moisturizer to lock in hydration. If you’re doing this in the morning, don’t forget sunscreen. How Often Should You Use Gua Sha? For beginners: For regular users: There’s no need to use excessive pressure or spend long periods massaging. Consistency matters more than duration. Common Mistakes to Avoid Many beginners make these mistakes. Using Gua Sha on Dry Skin Always use facial oil or serum. Pressing Too Hard Gentle pressure is enough. Your skin shouldn’t hurt afterward. Skipping Cleaning Wash your Gua Sha tool after every use. Moving Too Fast Slow, controlled movements work best. Ignoring Your Neck The neck is an important part of the massage routine. Who Should Avoid Facial Massage or Gua Sha? Skip facial massage if you have: If you have a skin condition or medical concern, consult a qualified healthcare professional before trying new skincare techniques. Extra Tips for Better Results Frequently Asked Questions Does Gua Sha really work? Many people find Gua Sha relaxing and notice temporary improvements in puffiness and facial tension. Results vary from person to person, and it isn’t a replacement for medical or cosmetic treatments. Can I use Gua Sha every day? Yes, provided you use gentle pressure and your skin isn’t irritated. Should I use Gua Sha before or after moisturizer? Apply facial oil or serum first, perform your massage, then finish with moisturizer. Which oil is best for facial massage? Lightweight facial oils like squalane, jojoba, or rosehip oil are popular choices because they provide slip without feeling too heavy. Morning or night—which is better? Morning sessions may help reduce temporary puffiness, while evening sessions can be a relaxing way to unwind. Choose the time that best fits your routine. Final Thoughts Gua Sha learning how to do facial massage & Gua Sha at home doesn’t have to be complicated. With clean skin, a quality facial oil, gentle pressure, and a few minutes of practice, you can create a calming skincare ritual that leaves your skin looking refreshed and your mind feeling more relaxed. Remember, skincare is about consistency—not perfection. Listen to your skin, use gentle techniques, and enjoy the process. Have you

How to Improve Sleep Quality: An Evidence-Based Guide
A no-hype, evidence-based guide to improving sleep quality – covering circadian rhythm, sleep hygiene, a practical night routine, and when poor sleep needs a doctor’s attention.
Eye Makeup Trends 2026: 9 K-Beauty Inspired Looks You Need to Try
Eye Makeup Trends 2026 are all about soft glam, youthful eyes, and effortless beauty. Inspired by K-Beauty, this year’s biggest trends focus on natural shimmer, puppy eyeliner, glossy eyelids, subtle lashes, and fresh pastel colors instead of heavy dramatic makeup. Whether you’re a beginner or a beauty enthusiast, these trending eye makeup styles are easy to recreate and perfect for everyday wear. Eye Makeup Trends 2026: Why Everyone Is Loving the K-Beauty Look Eye Makeup Trends 2026 are moving away from bold Instagram makeup toward lighter, fresher, and more natural styles. Korean beauty continues to influence global makeup trends because it enhances natural features instead of hiding them. For more on this, see our guides to easy everyday eye makeup looks for beginners, an easy everyday makeup tutorial for beginners and how to improve dark circles, puffiness and fine lines. The goal is simple: If you’ve noticed celebrities and influencers wearing softer eye makeup recently, you’re already seeing K-Beauty’s influence. 1. Puppy Eyeliner Is Replacing Cat Eye One of the biggest Eye Makeup Trends 2026 is puppy eyeliner. Instead of flicking the eyeliner upward like a cat eye, the line follows the natural downward shape of your eyes. Why it’s trending 2. Glossy Eyelids Are Back Matte eyeshadows are no longer the only option. Glossy eyelids create a fresh, hydrated appearance without heavy glitter. Popular shades include: A tiny amount of eye gloss over neutral shadow creates a runway-inspired finish. 3. Brown Eyeliner Is More Popular Than Black Black liner can sometimes look harsh. Brown eyeliner gives definition while maintaining a soft appearance. It works especially well for: 4. Soft Glitter Under the Eyes Korean beauty has popularized subtle sparkle beneath the lower lash line. Instead of chunky glitter, beauty experts recommend: This instantly brightens tired-looking eyes. 5. Natural Fluffy Brows Overly sculpted brows continue to fade. Today’s trend focuses on: The result looks youthful and effortless. 6. Soft Pastel Eyeshadow Pastel shades are making a huge comeback in Eye Makeup Trends 2026. Trending colors include: These shades pair beautifully with glossy lips and dewy skin. 7. Lightweight Mascara Instead of dramatic false lashes, people are choosing: The goal is natural volume without clumping. 8. Under-Eye Brightening Brightening the under-eye area makes makeup appear fresh. Popular products include: Avoid heavy baking powders for a more natural finish. 9. Glass Skin + Soft Eyes No K-Beauty makeup look is complete without healthy-looking skin. Pair eye makeup with: The entire makeup look appears effortless and radiant. How to Create the Perfect K-Beauty Eye Makeup Look Step 1 Moisturize your eye area. Step 2 Apply an eye primer. Step 3 Use a neutral matte shade. Step 4 Add soft shimmer. Step 5 Create puppy eyeliner. Step 6 Apply lengthening mascara. Step 7 Highlight the inner corners. Step 8 Finish with a dewy setting spray. Common Eye Makeup Mistakes Avoid these mistakes if you want your makeup to look modern: Pro Tips ✔ Blend every shadow well. ✔ Choose cream textures whenever possible. ✔ Curl lashes before mascara. ✔ Use waterproof eyeliner. ✔ Apply shimmer with your fingertip. ✔ Remove makeup gently every night. Adapting the Trends to Your Eyes and Skin Tone Textures and Products Worth Trying Cream and liquid shadows are the easiest way to get the glossy-lid look, because they blend with a fingertip and do not settle into fine lines as easily as heavy powders. Pair them with a light dusting of matte shadow at the lash line to help the makeup last. For lashes, a tubing or lengthening mascara gives a clean, separated finish, and a soft brown pencil is more forgiving than a gel liner if you are still practising. Wearing the Trends for Different Occasions Keeping Eye Makeup Safe Trend products such as glitter and gloss sit close to the eye, so hygiene matters. Avoid sharing eye products, discard mascara within two to four months of buying it, which is what manufacturers usually recommend according to the US Food and Drug Administration (see the FDA eye cosmetic safety guidance), and remove eye makeup fully before sleeping. Stop using any product that causes stinging, redness or swelling, and speak to a doctor or pharmacist if symptoms persist. For step-by-step help with the basics, see our guide to eye makeup for beginners. Frequently Asked Questions Are K-Beauty eye makeup trends suitable for beginners? Yes. Most K-Beauty looks are simple, natural, and easy to recreate with only a few products. Which eyeliner color is trending in 2026? Brown eyeliner is one of the biggest Eye Makeup Trends 2026, offering a softer and more natural finish than black. Are glitter eyes still in style? Yes, but only soft shimmer or fine glitter. Large chunky glitter is becoming less popular. Which eyeshadow colors are trending? Peach, lavender, champagne, rose gold, baby pink, and soft coral are among the most popular shades this year. Can mature women wear K-Beauty eye makeup? Absolutely. Soft eyeliner, natural brows, and subtle shimmer complement mature skin beautifully. Conclusion Eye Makeup Trends 2026 prove that less can truly be more. Instead of dramatic makeup, this year’s trends embrace soft colors, natural textures, glowing skin, and subtle elegance inspired by K-Beauty. Whether you’re heading to work, a party, or simply refreshing your makeup routine, these looks are easy to wear and timeless. Which K-Beauty eye makeup trend is your favorite? Let us know in the comments, and subscribe to GlowCulture for more beauty tips, skincare guides, and the latest fashion trends. What the Experts Say The US Food and Drug Administration says most eye cosmetics are safe when used properly, but reminds users to watch for infection risk, injury from applicators and colour additives that are not approved for use near the eyes. Its advice includes washing your hands before applying makeup, keeping tools clean, not sharing eye products, not adding water or saliva to dried-out mascara, storing cosmetics below 85 degrees Fahrenheit (about 29 degrees Celsius) and never applying or removing eye makeup in a moving vehicle.
Benefits of Vitamin C Serum: What It Actually Does for Your Skin
What vitamin C serum actually does for skin, backed by dermatologist sources – plus the concentrations, timing, and ingredient pairings that matter most.